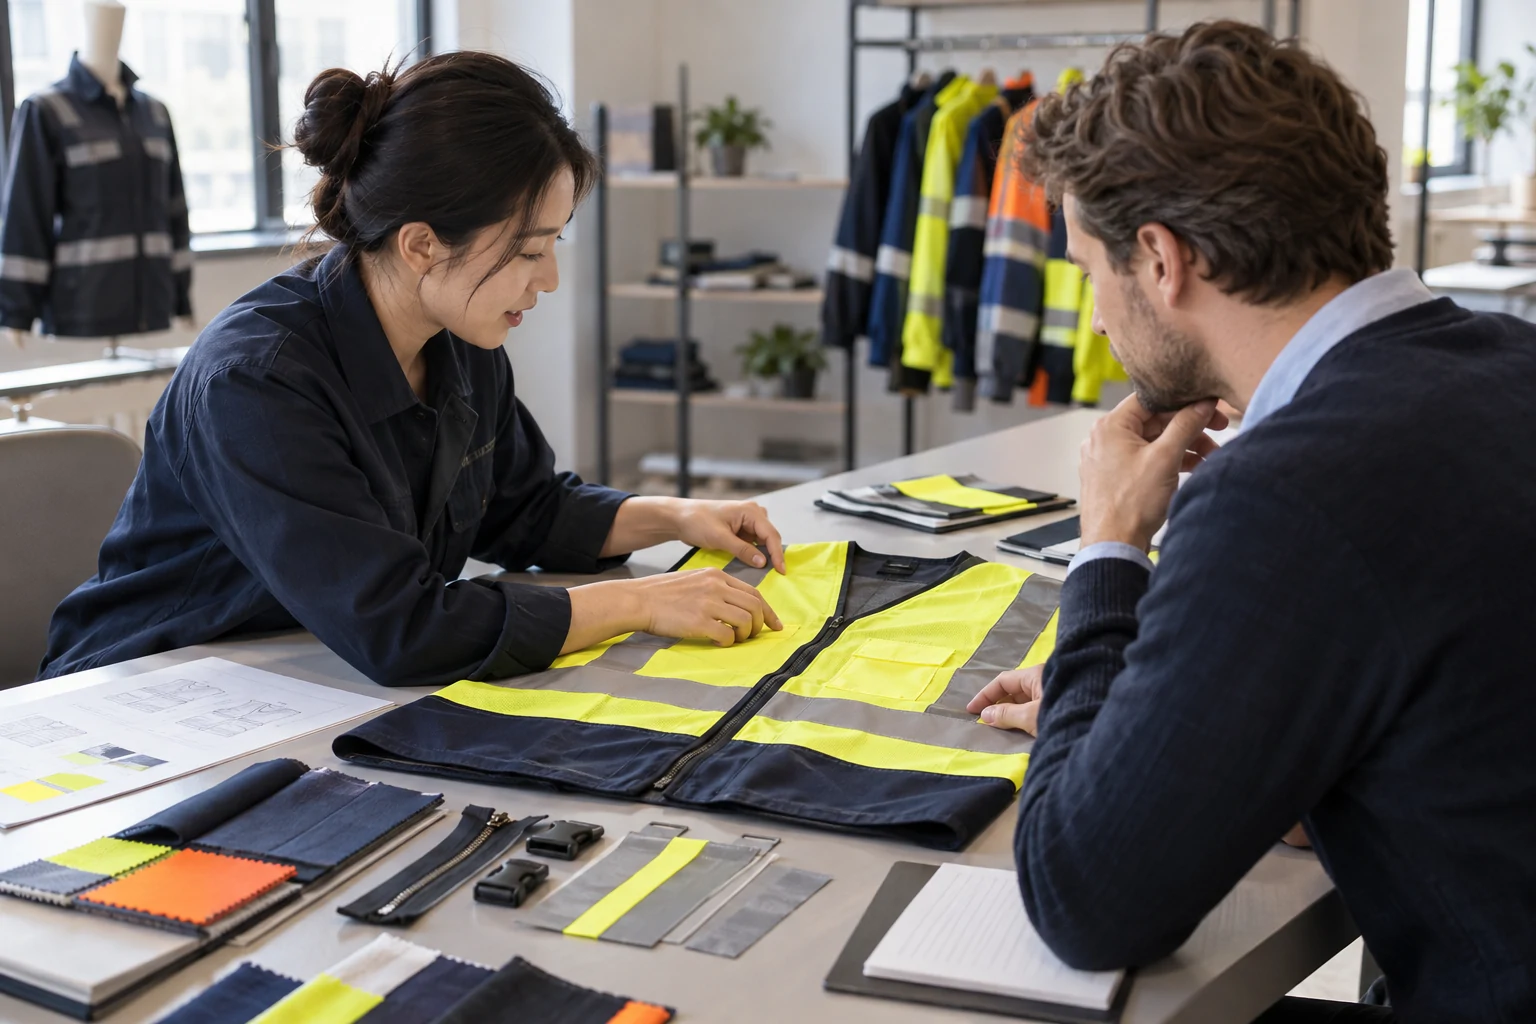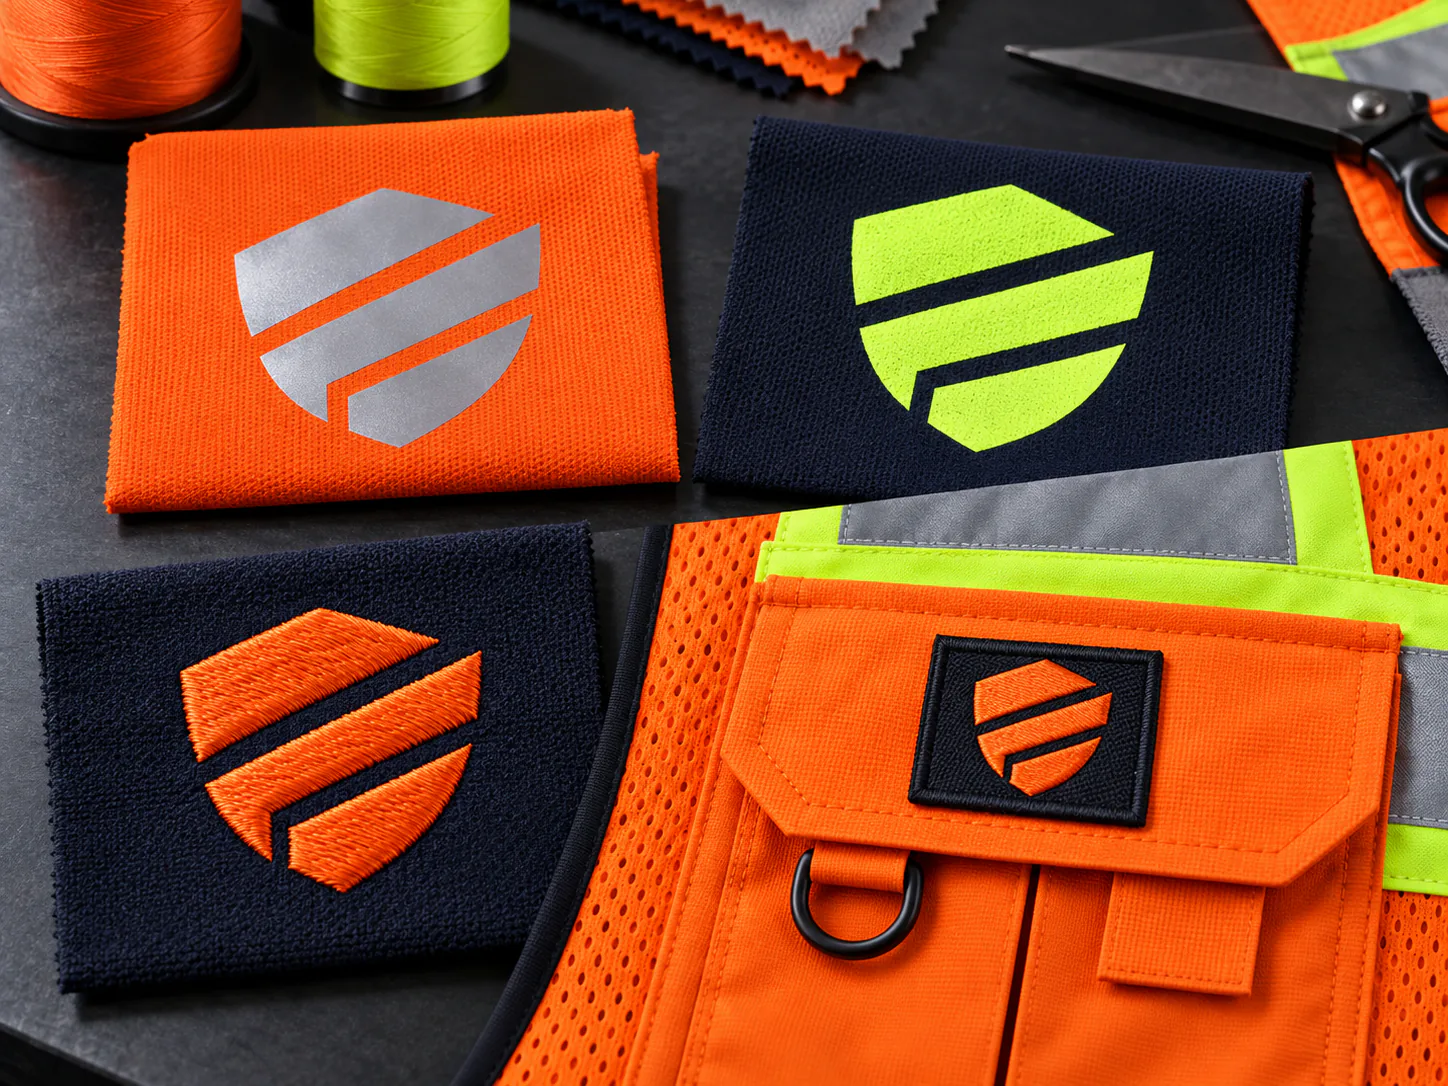
Choose the logo method by base fabric, artwork and wash route. Heat transfer handles fine detail and many colors on most fabrics, including mesh with a suitable transfer. Screen print suits bold, repeat artwork on solid, printable fabric. Embroidery and woven patches give a durable, textured finish on stable wovens, softshells and heavy knits. On high-visibility garments, keep logos off retroreflective bands and confirm the finished garment still meets its class.
How do the logo methods compare?
Use this as a starting point, then confirm the method on the actual base fabric and garment style.
| Method | Best fabrics | Detail | Avoid |
|---|---|---|---|
| Heat transfer | Knits, wovens, suitable mesh | Fine lines, many colors | Heat-sensitive coatings |
| Screen print | Solid, printable fabric | Bold shapes, few colors | Open mesh |
| Embroidery | Wovens, softshell, heavy knits | Small text blurs | Mesh, rainwear, tape |
| Woven patch | Jackets, softshell, heavy wovens | Fine, flat detail | Mesh, light fabrics |
Heat transfer for detail and mixed fabrics
Heat transfers are printed or cut films applied with heat and pressure. They reproduce small text, fine lines and multicolor artwork, stay flexible on knits and suit small runs and repeat orders. Reflective transfers can make a logo return light, but they do not replace required retroreflective bands. The main risks are heat and adhesion. Heat can mark coated fabric or shift some fluorescent colors, so confirm press settings on the actual material. Then check edges and adhesion after the garment’s intended wash route.
When does screen print make sense?
Screen printing pushes ink through a stencil screen, with a separate screen for each color. It is efficient for bold, repeat artwork, such as a company name on a back panel or a simple chest mark on solid fabric. Every added color adds a screen and setup, so many-color logos on short runs usually suit transfers better. Open mesh gives ink little surface, and stretch areas need an ink that moves with the fabric. Confirm ink type, color match and curing on the actual fabric.
Embroidery and woven patches
Embroidery stitches the logo into the garment. It gives a durable, textured finish on woven shirts, jackets, softshells and heavy knits, but small text and thin lines lose clarity. The needle perforates the fabric, so do not embroider through retroreflective tape, waterproof rainwear or open mesh, and use a suitable backing on stretch fabric. Woven patches carry finer, flatter detail and can be sewn or heat-applied, which helps where stitching through the fabric is unwanted and the fabric tolerates heat. Check patch edges, stiffness and attachment on the actual garment.
How do logos affect required visible areas?
High-visibility classes set minimum areas of fluorescent background and retroreflective material. Under ANSI/ISEA 107-2020, Class 2 needs at least 775 in² of background and 201 in² of retroreflective material. Under EN ISO 20471, Class 2 needs 0.50 m² of background and 0.13 m² of retroreflective material. A logo on background material reduces the visible background area, and decoration must not cover or interrupt required retroreflective bands. Check the smallest size first. It has the least fabric to spare, even though ANSI/ISEA 107 lets only the smallest size in a range use a reduced Class 2 background of 540 in².
Placement rules for hi-vis garments
Fix placement on a drawing for each size range before the artwork is final.
- Keep logos on background fabric, clear of retroreflective bands.
- Typical zones are the chest, sleeve areas clear of bands and the back panel between bands.
- Size the logo for the smallest size, then check it on the largest.
- Keep decoration off seams, pocket openings, zippers and closures.
- On breakaway vests, keep logos clear of release points so they still separate.
- On two-tone styles, a logo on a non-fluorescent contrast zone leaves the fluorescent background untouched.
What artwork files should you send?
Send production-ready artwork with the inquiry so method, size and placement are reviewed together.
- Vector files such as EPS, PDF or SVG, with fonts converted to outlines.
- Pantone references for every ink and thread color.
- Finished logo width and height for each placement.
- A placement drawing showing position relative to seams, pockets and tape.
- Single-color and reversed versions for light and dark backgrounds.
- Written approval from the brand owner when the logo belongs to a client.
Approve decoration on a physical sample
A screen proof shows direction only. Approve the logo on a physical sample of the exact garment and check small text, line weight, ink or thread color against the Pantone target, backing, stiffness and placement in the smallest and largest sizes. Agree the wash route for any checks: ISO 15797 industrial procedures for garments sent to industrial laundries, or ISO 6330 domestic procedures for home washing. Changing the logo method, size or placement means the finished configuration must be reviewed again. Safvero confirms samples and pre-production samples case by case through an inquiry.
Common questions
Can you put a company logo on a reflective safety vest?
Yes. Place it on fluorescent background fabric, clear of retroreflective bands, seams and breakaway points. A logo on background material reduces the visible background area, so confirm the finished vest still meets its intended class in the smallest size before approving production.
Is embroidery or screen printing more durable on work shirts?
Embroidery is usually the more durable choice on stable woven shirts because the logo is stitched into the fabric. Screen print also lasts when the ink suits the fabric and is fully cured, but it can crack on stretch areas. Check either method after the garment’s intended wash route.
What is the best logo method for a mesh safety vest?
Heat transfer suited to open mesh is the usual choice. Screen ink has little surface to grip on mesh, and embroidery distorts it. For a large logo, choose a vest style with a solid printable panel. Keep the logo clear of retroreflective tape and check it on the smallest size.
What file format is best for a workwear logo?
Send vector artwork such as EPS, PDF or SVG with fonts converted to outlines, plus Pantone references for each color, the finished logo size and a placement drawing. Clean vector shapes work best for screen print, embroidery digitizing and cut transfers.
Sources and further reading
ISEA: ANSI/ISEA 107-2020 high-visibility safety apparelISO 20471 overviewEU-OSHA OSHwiki: reflective clothingISO 15797: industrial washing procedures for testing workwearTurn the guide into a product brief.
Choose a product or send the requirement that still needs a recommendation.
Explore workwear